
Click on image to enlarge
I first started by making the turtle deck out of construction paper. The CX5's new turtle deck is shaped something like what you see in the photo above, but I decided I didn't like this shape. I think I made a total of three out of cardboard before I got the shape I liked.


I settled on this shape. I let the front over lap the F7 flange so that once I had the metal where I wanted it on the rear and all the holes drilled, I could simply trim down the front edge.

I clamped a couple of 2x4's to the F7 bulkhead so I could keep any twist out of it while I drilled the first few holes. I measured & drilled #40 holes in the F7 flange and used a hole finder to drill matching holes in the turtle deck skin. This way the holes were exactly where I wanted them. The only issue that came up was that when I removed the hole finder and laid the skin down tight against the F7 flange, I saw that the holes were slightly misaligned because of the thickness in the hole finder itself. So, before drilling the next hole I would immediately drill out the hole I just drilled with a #30 drill and put in a cleco so that the next hole was not off even more. This procedure worked well.
I would drill a few holes at the F7 flange and then lay everything down flat and drill a hole near the rear where the turtle deck skin met the fuselage skin. I would work my way forward. I had these rearward holes predrilled where I wanted them to go.


This process seem to work well. I orginally had holes in the rear skin every 6 inches and thought I might get away with this kind of spacing. Upon a closer inspection I saw some slight puckering in between the clecos and I then added additional holes so that my spacing ended up at 3 inches. I originally only had 3 rivet holes in the rear but added 2 more for the same reason.
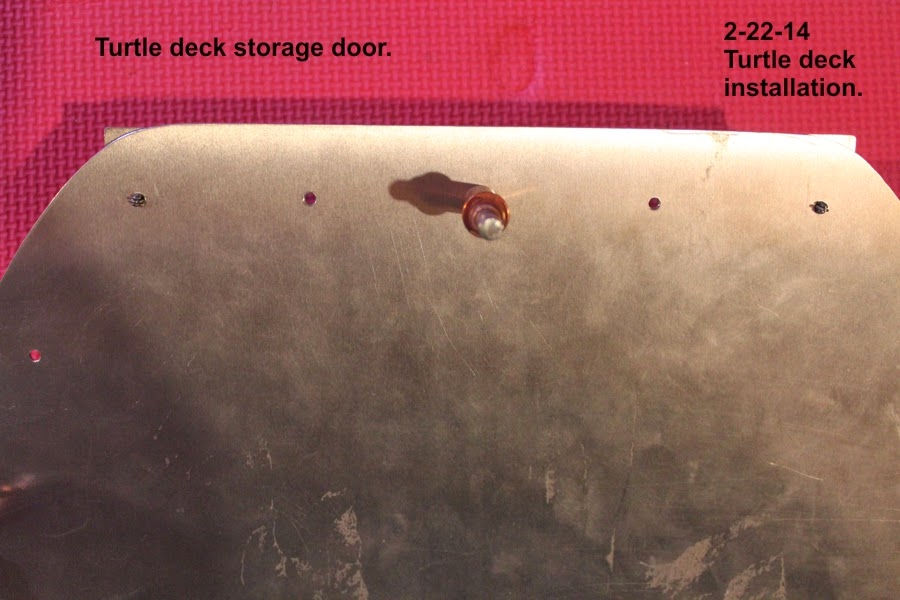
Next was to create an access hole in F7 so I could store something in the turtle deck area if I wanted to.

I cut a hole to a pleasing shape and positioned it such that there is about a 3/4" lip at the bottom. This was important to how I was going to secure my door.

I then cut a piece of .032 material in the same shape as the hole, but I oversized it by about 3/4 of an inch so that it would completely cover the hole and become the door. I then cut a 2nd piece the same size as the access hole and centered it on the back side of this door. Then I attached two rectangular pieces at the top and bottom of the rear as shown it the photos below.


The center piece was trimmed at the top about 1/4" so I could slide the door upward in the hole allowing the lower rectangle to clear the lower F7 hole lip. Then a slight downward slide is made to engage the lower rectangle and the door is held in place.

I bent the lower corners of the door ever so slightly so that the corners fit snugly when the door is on. In the photo above you can see this slight bend at the lower left corner. I will eventually mount a head cushion on this door.
As always, there are more photos in my album that you can find in the right hand column of this blog.
Next I should be making tail feathers! Stay tuned!
